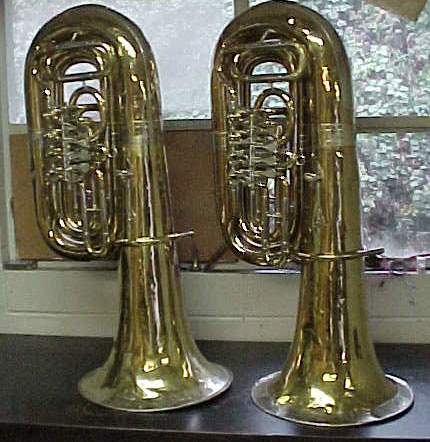
The tubas we have chosen
for this project are one of the more common
models, the Mirafone 186-4U. I have always
liked the way these instruments
sounded and they have been fairly predictable
during the
rebuilding process. This and the ease
of parts acquisition as Mirafone is a
great company to work with, even when parts are
needed for the uncommon
or earlier models that they no longer manufacture. For
us, they have always come through.
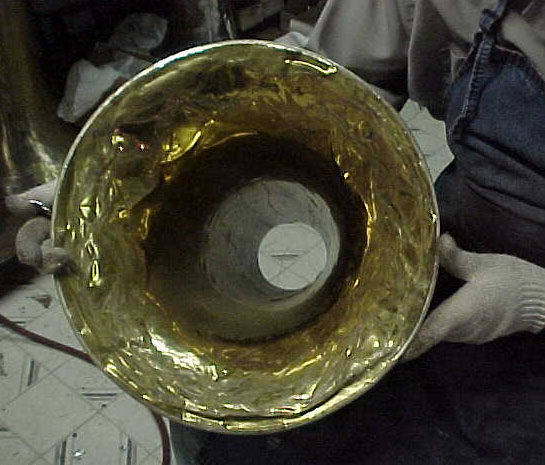
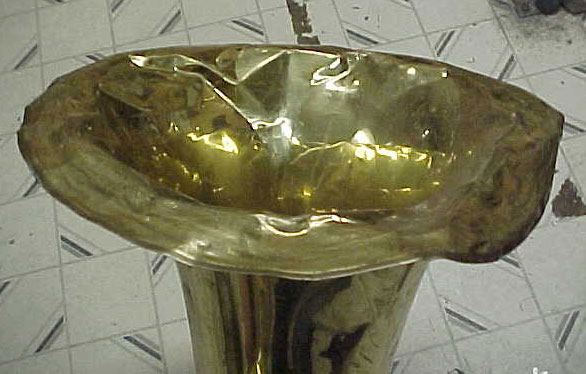
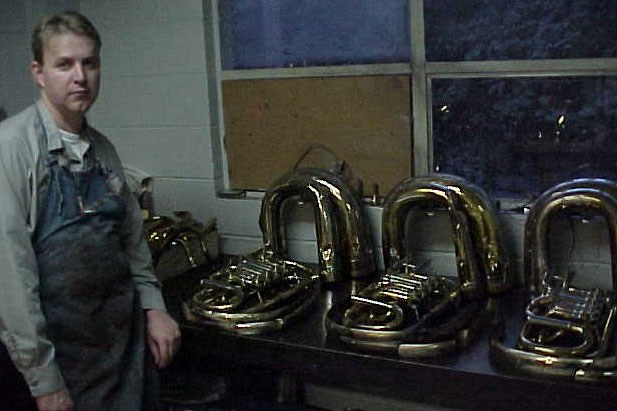
We had three instruments in when these images were taken. It does get much worse than this believe it or not. This bell will look great when we are completed.
It is much worse than the image can show.
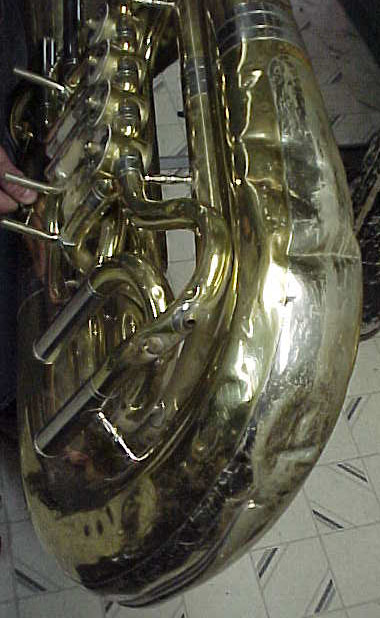
These are typical of what we are asked to restore.
This on the other hand is not typical!
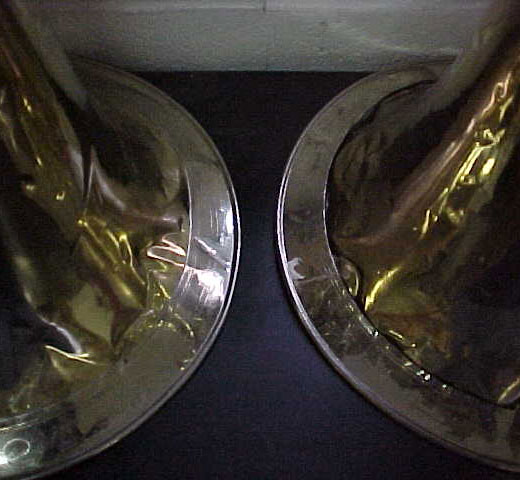
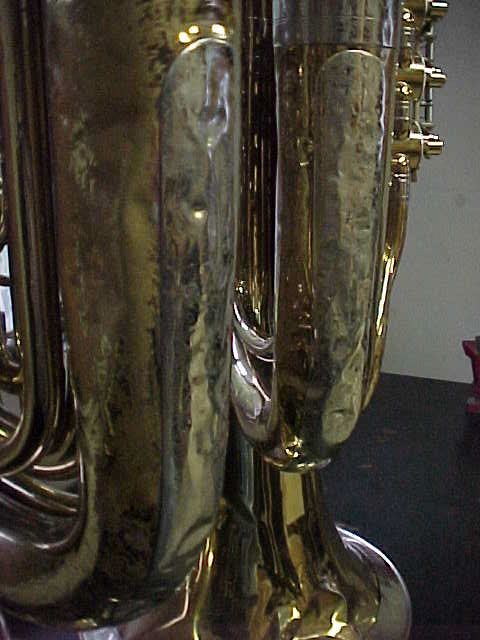
Wreathes on tuba bells are rather tricky to repair outside
of the factory but it is possible if you are skilled, have good training
and a well-equipped repair shop.
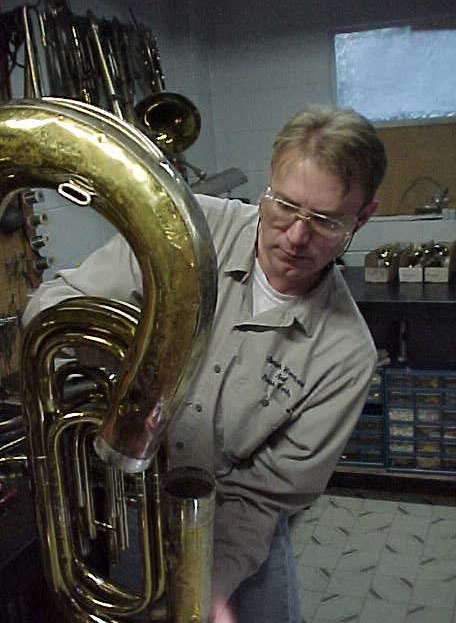
Once we have removed the tuning slides,
valve rotors, levers and such, stock is
taken of the overall condition,
as well as missing or severely damaged parts that must be
accounted for. We are then ready to proceed with the
messy job of dismantling the tuba.
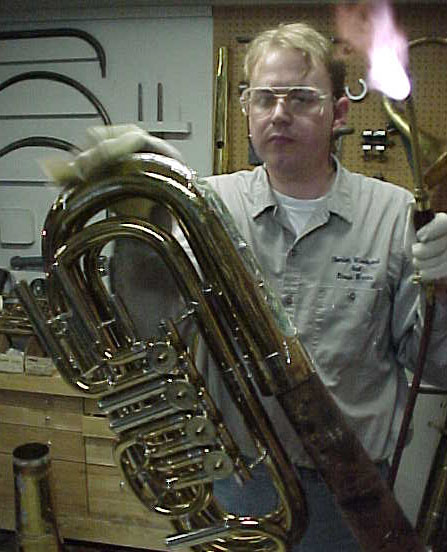
It is always best to find
an area in the shop that is less traveled as the tear down involves a lot
of molten solder flying through the air... Ouch!
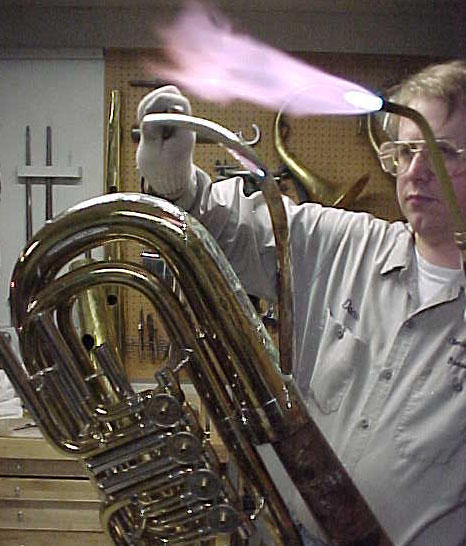
Safety glasses, protective gloves and an apron are strongly
recommended for this type of work.
They can mean the difference between a minor ouch and
a trip to the emergency room. There is a reason for the long sleeves and pants, don't learn the hard way. You don't
want an invitation to "Let's Compare Scars Night" at the local pub with
Capt. Quint.
No matter how well you tell it, "I got this beauty on
the last Kaiser Bass tuba I overhauled..." can never beat his story about
the Great White or the Tiger shark.
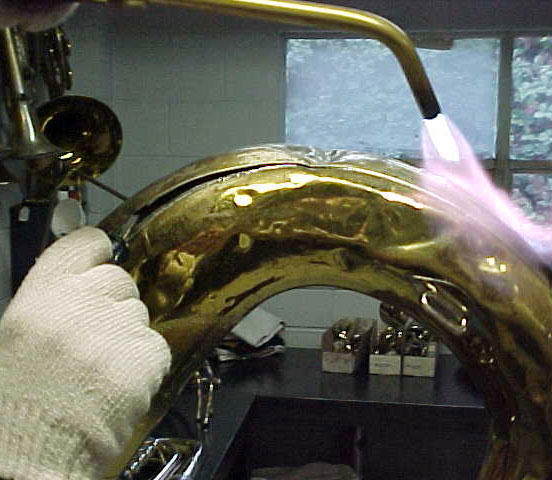
The bell and mouthpipe
are the first parts to be removed followed by the waterkey bow, master
tuning slide tube and brace to bottom bow. You just keep working
your way into the horn.
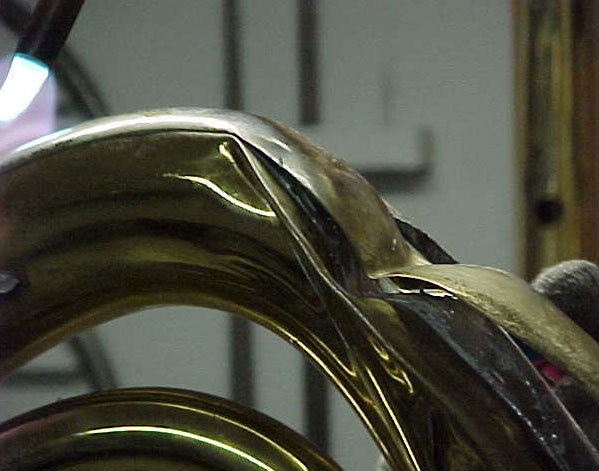
We then proceed with removing the guard moldings along
with the keel and large ferrules and work our way down to the valve assembly.
"It's getting warm in here and I smell smoke!"
You don't want to know what we find in these things from time to time. By the way, did anyone lose a Titleist 7 golf ball?
At this stage I think you get the idea.
We still have a lot more to take apart and will do so. The individual parts will also be wiped down to remove all of the remaining old solder.
We now send all this into the "Chem-room" where the lacquer
is chemically stripped and the brass is cleaned and prepared for dent removal.
HOME | SALES | GALLERY | EMAIL