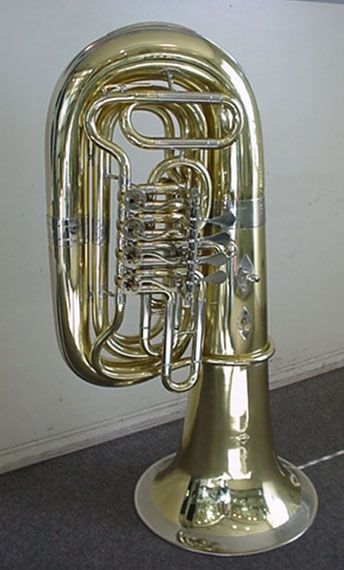
Tuba Overhaul
Stage #6
Assembly, Polishing and Lacquer
The second starting point involves the bell, bell bow
and the top branch. I will assemble these parts into one complete unit.
This approach allows for better cleanup of the larger solder connections.
Once the body assembly is cleaned up it is mated to the valve and internal
branch assembly and once again we go back to the buffing room and clean
things up.
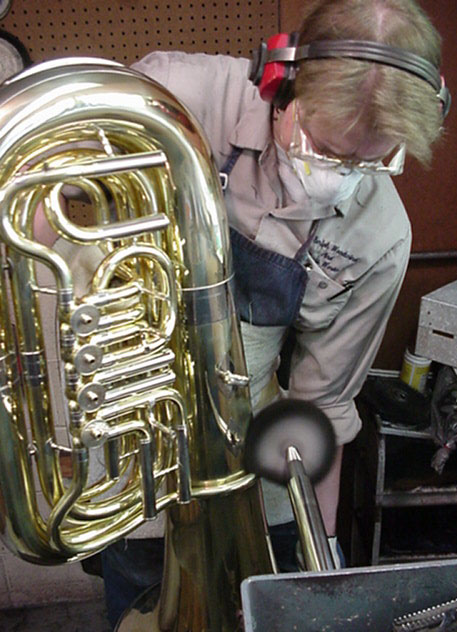
Wake up! and Pay attention!
This is the stage where you have to really watch yourself
and avoid bumping into things. One slip and you can put a pretty big dent
in that nice smooth bow. Carelessness can set you back several days and
cost big bucks. This is where Pros and Rookies get sorted out.

Mouthpipes,
"First off, last on"
This is a part that seems to never fit quite correctly.
Even though the part was bent at the factory, we will fill it with a low
temprature melting alloy and rebend it so it lies on the instrument correctly.
Only then will it be soldered into place.
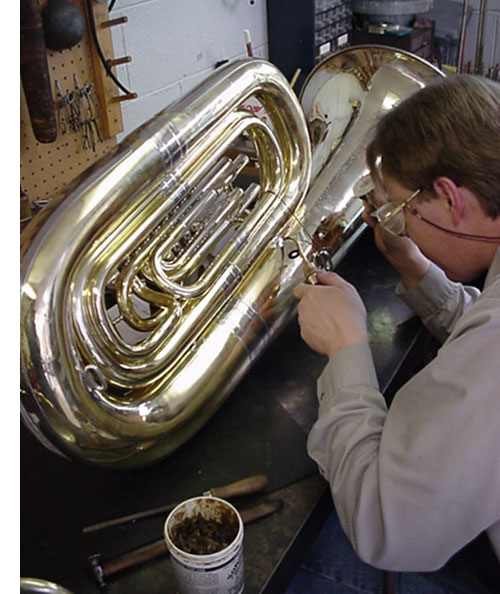
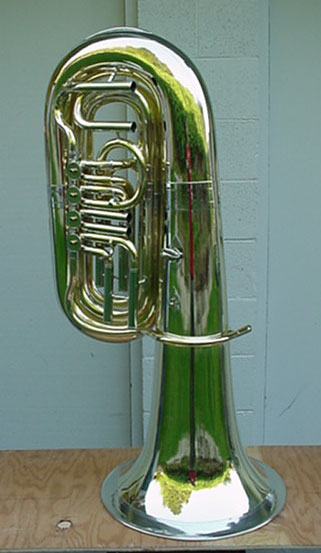
After the whole body of the tuba has been soldered
together, it is "strapped" by hand with wicking and tripoli compound to
clean up the tight areas. It is then "ragged" by hand with a lint free
cloth and Brasso to remove general discoloration and dissolve any remaining
compound that might be trapped in the crevices.
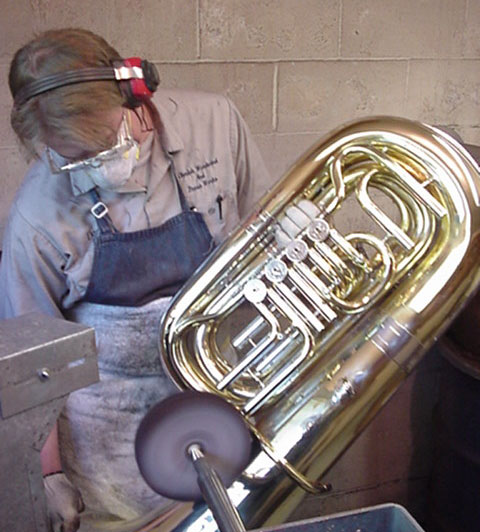
Once the instrument has be cleaned with a degreasing solvent and is free of any tripoli polishing compound, we can proceed with the "color buffing". This process is where the real luster of brass is brought forth.
I was taught to use a 50 ply loose flannel wheel with
Burns rouge. The wheel must be specially prepared before it can be used
or it will leave unwanted striations on the brass and take a lot longer
to achieve the desired clear, mirror finish. In my opinion and the Master who
I apprenticed under, Burns is the only rouge compound that will do the
job.
The polishing lathe's speed must be adjusted for the size of the wheel being used. I will use several sizes depending on the location I am buffing. Getting the desired results takes time and a lot of patience. I do my coloring at a relatively high speed.
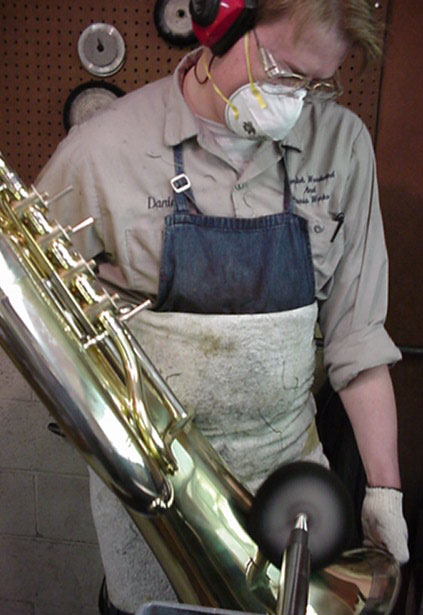
During my apprenticeship, my work was picked apart and
I was sent back to the buffing room many times before I finally understood
and got it right. Buffing brass clear as a mirror is a skill that is extremely
difficult to develop.
Once the body is bright and clear, we degrease it and make sure it is as clean as possible. If the brass has any oils or contamination on it, the lacquer will not adhere properly and will fail to stick to the surface of the instrument.

I lacquer all our horns and in our shop we only use Nicolas
air dry lacquer as I find baked-on epoxy finishes to be costly in equipment
and difficult to deal with should the instrument be damaged and need additional
repair. I dye our lacquer with a specific amount of color to
avoid a yellow brassy finish on the instrument and give it a little depth
and richness.
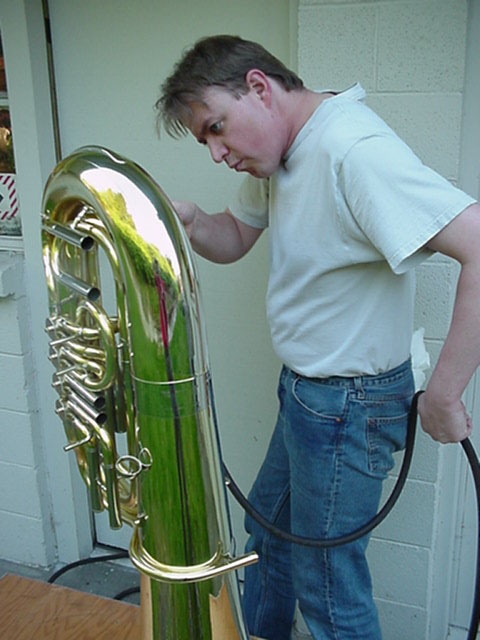
As I am sure you can see, I spray tubas outside. It is
about as good as using a booth and there is less risk of lint getting stuck
in the wet lacquer.
I try to do tuba lacquering in mid spring and late summer
because on large instruments, the humidity in Seattle can cause problems
with how the lacquer behaves when it is sprayed and it does not require
a catalyst be added when it is mixed. I prefer to spray in the early evening
or mid morning for best results.
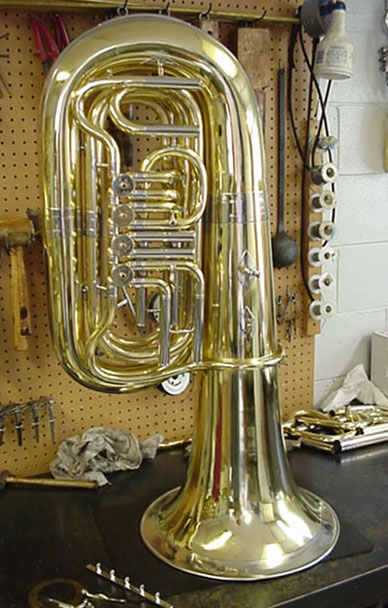
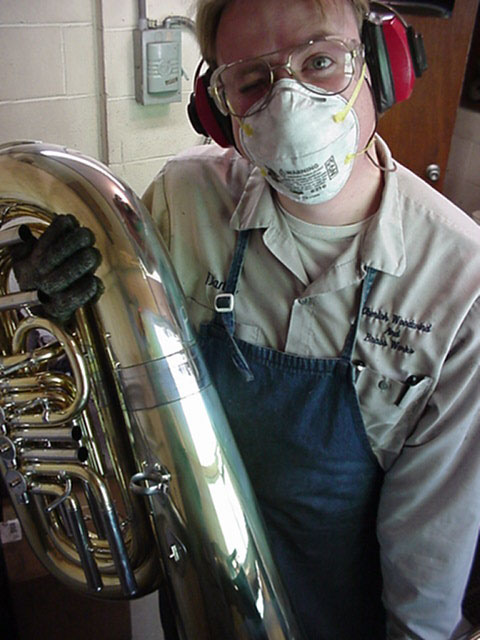
Of course the tuning slides, levers and other assorted
bits and pieces were restored along with the body of the tuba. I did not
really go into the small parts as I think the idea of what is done, is
by and large understood. At this stage the instrument's valves are fitted
and adjusted, bumpers are installed and the rotor ports are aligned. Springs
and water key cork are installed and it is ready to be play tested.
Once it is completed, I like to apply Lemon Pledge to
the surface. This gives the tuba a silky smooth feel to the touch and adds
a little protection to the lacquer. The restoration is now complete.
If you are a true glutton for punishment, we recently did a large amount of work on a Holton 345 tuba for a good friend. For pictures and story, please visit Tony's Tuba.
HOME | SALES | GALLERY | EMAIL