Tuba overhaul
Stage #5
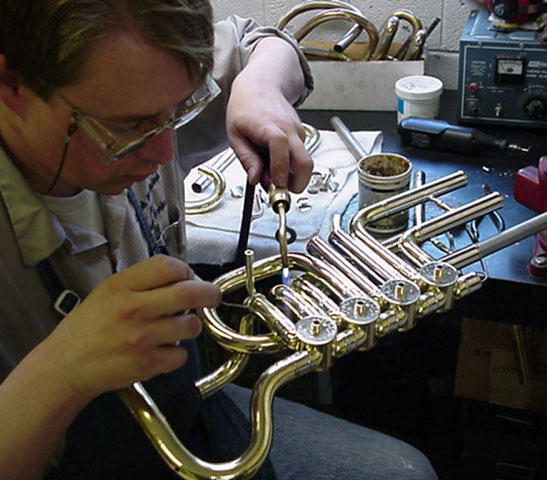
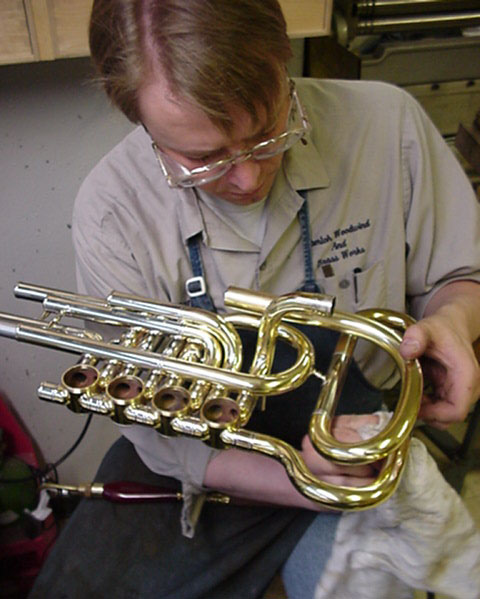
Valve and Inside Branch Assembly

With all the bits and pieces of the tuba dent free and
polished to a nice smooth finish, we start the assembly of the valve section
and work our way out.

Right angles and parallels
are the rule when assembling any brass instrument.
This type of tuba has no adjustable braces. This requires
that all the tubing must be properly shaped or it will simply not go together.

I am not a fan of using scrapers to clean up solder joints! I don't understand why so many shops employ this approach, why would you want to scratch up all the nice polishing you work so hard to achieve?
The trick to having solder joints that need minimal cleanup
is to have a good proper fit and only use as much solder as needed. I know
this sounds easier than it is but I never said this was easy. You then
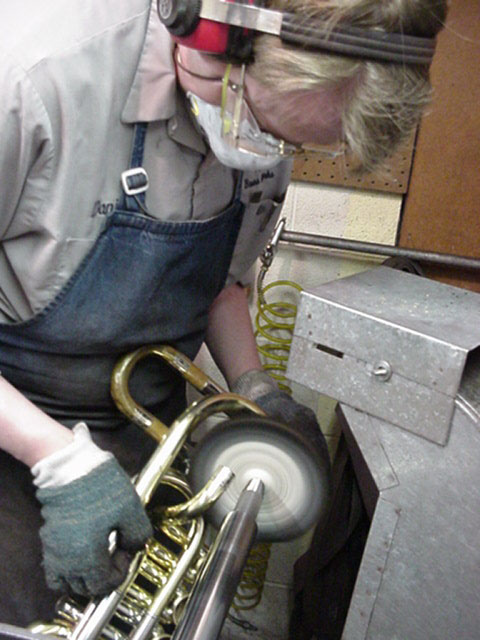
alternate soldering with buffing and simply clean up after every solder
joint is completed. This means a lot of back and forth between the solder
bench and the buffing room but in the end this approach pays off big time.

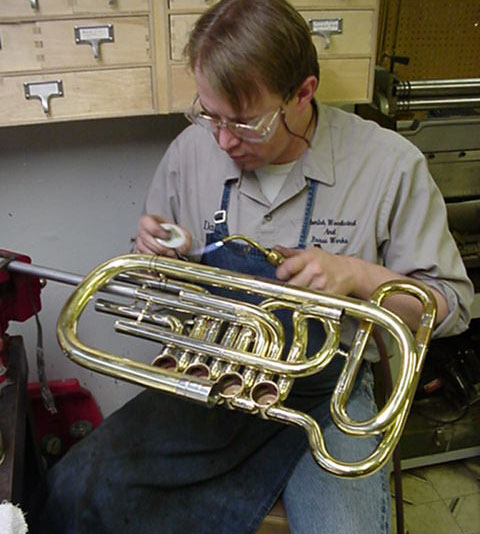
The approach I use for assembling the body involves two
starting points. The first is at the valve section where I will carefully
work my way out. I use a 19 gauge steel wire to hold braces in place, freeing
my hands to perform the actual solder work. Care must be taken when tightening
the wire as it is very easy to dent the tubes. During this stage
every brace and branch must be double checked to make sure it will line
up correctly with its adjacent branches and braces. Again remember: These
instruments have no adjustable fittings so you need to get it correct the
first time or you are going to have serious issues getting the bell and
mouthpipe to match up correctly.
HOME | SALES | GALLERY | EMAIL